|
Things you'll need before starting your brew: - Wooden or plastic stirring utensils. - 3 - 4 litre glass jar - Tight weave cloth or paper towels - rubber band Ingredients: - Water - White Sugar - Tea Bags or loose tea - Active Kombucha Scoby - 1 Cup of pre made Kombucha Steps to take: 1. The first step is to brew your choice of tea. How I like to do this is by adding one cup of sugar into my 4 litre glass jar along with the 8 tea bags of my choice. If you want to use loose leaf tea for brewing your kombucha it is ok to use a metal tea ball as long as it is removed before adding your Kombucha scoby and does not come into contact with the scoby. I like to leave my tea to brew over night as the tea and jar will need to cool to room temperature before adding the scoby into the brew. Note: The tea bags or tea ball can be left in the jat while it cools to room temperature over night if you want a stronger flavoured tea or can be removed after 10 - 15 minutes for a lighter flavoured kombucha. 2. Remove the tea bags or completely strain the loose leaf tea from the liquid. 3. One the tea has completely cooled to room temperature add your cup of pre made kombucha to the mix. You can add anywhere from one cup to a half litre of pre made kombucha. I would recommend using up to a half litre in a 4 litre batch especially if it is your first brew of kombucha. Note: Choose a flavor that will compliment your chosen flavour of tea. 4. Add your active kombucha scoby to the tea brew. 5. Cover the jar with the tight weave cloth and secure it with a rubber band. If you do not have any tight weave cloth I have used a doubled over paper towel secured with a rubber band which works just as well. Note: The scoby needs to breathe so that it can grow during the fermentation period. It will likely expand and grow into a larger scoby which can then be cut into two scobys which can be used to make extra brews or can be given to others wanting to make their own brew. 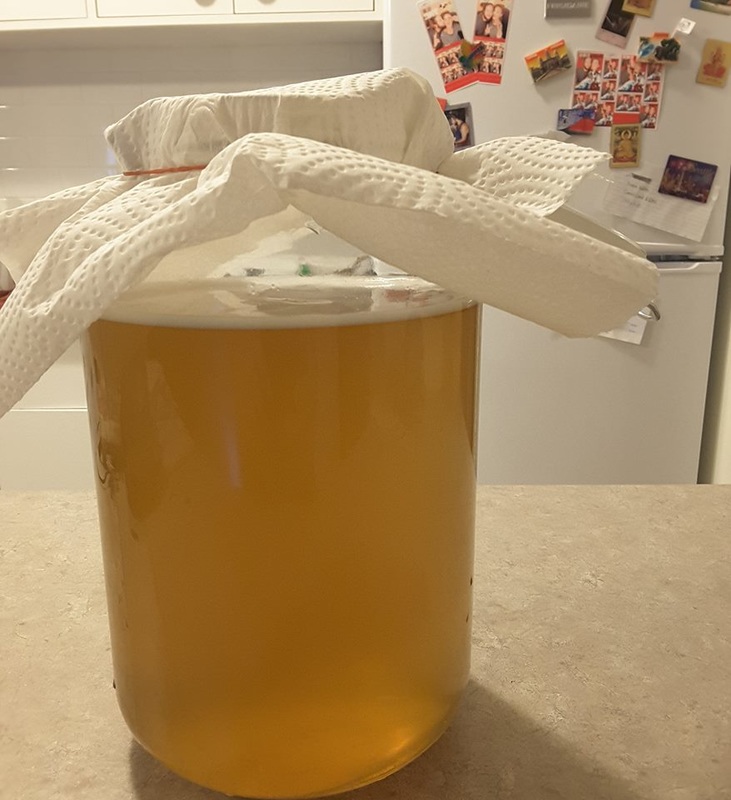 6. Allow the mixture to sit undisturbed in a warm dark place for 7 - 30 days. Taste test along the way. The longer the brew is left to sit in the fermentation period the less sweet and more vinegary the taste will be. 7. Remove the scoby from the mix and distribute it into glass bottles or jars. 8. Keep the scoby with some kombucha juice in a sandwich bag and place it into the fridge or start another batch to keep it alive. 9. To make your kombucha fizzy try leaving it out of the fridge with the lid on to let it carbonate. Taste test each day to see if that flavour is right for you. Note: To create more advanced flavour notes try adding fresh ginger or your choice of fruit to the bottled kombucha while you let it sit and carbonate without the scoby. 10. When you are happy with the flavour and amount of fizz put the bottles in the fridge to cool and prepare for drinking! 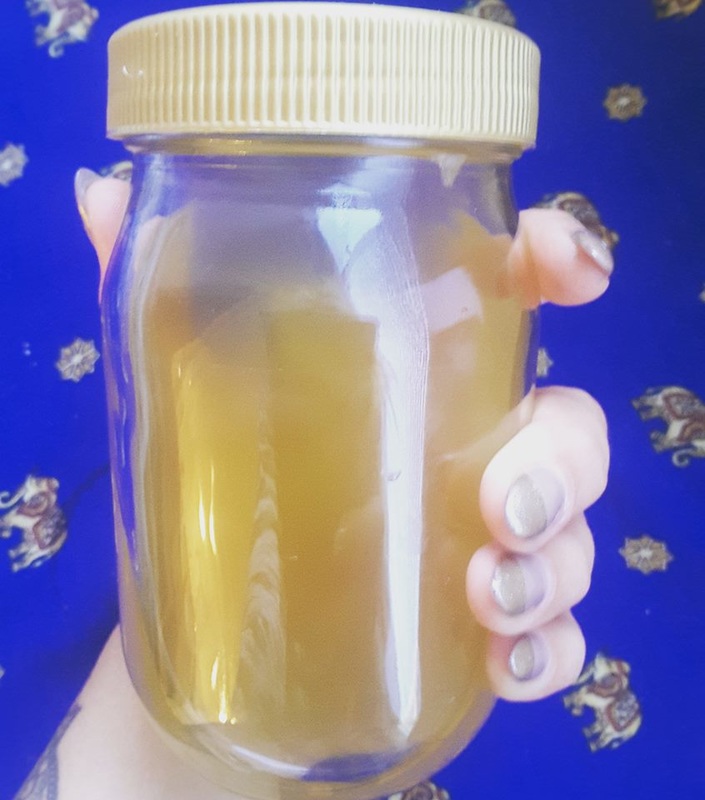 If you have any questions please contact me or there are so many other great advanced blogs out there about making your own kombucha. I just wanted to put the simple steps down to show just how easy it is to make your own probiotic rich drink.
Enjoy :) Alana xx
0 Comments
|
AuthorHead to the 'About' page to find out a bit more about me and what my website it all about. Archives
October 2016
Categories |
 RSS Feed
